That makes things a lot easier. Here's what you'll need –
– Two or three long-opening clamps. I used a pair of clamps I had lying around with a 12.5 cm depth
– Various grades of sandpaper (up to like 400 grit)
– a very sharp and quite small scraper
– perhaps a scalpel or craft knife
– tools for making simple camping cauls (saws, rasps, etc.)
– decent masking tape (like frogtape or similar)
– some cheap chopsticks (ideally PTFE rod or something like that)
– Some offcuts of shelf timber or something for making cauls.
– a round needle file (can be cheap and crappy)
– Some double-sided tape (the weaker the better)
As for glue, you could certainly use hide glue, but it is a pain in the arse to work with. I've not touched the stuff in a long time. When I did the bridge replacement, I just used standard, red-label Titebond, which is what I use for all my instrument building work.
The first thing you'll need to do is carefully clean up the area under the bridge. This is what it looked like on the guitar I was working on after I'd heated and levered the old bridge off.
You'll want to mask off the area of the finish that isn't under the bridge, and then carefully scrape and sand away the old glue and any finish that's under there (you want the bridge to go onto bare wood). You don't want to go too hard, because the wood is thin and pretty delicate. Here's an "after" photo from the instrument I was working on.
You'll also want to do the same for the underside of the bridge, being very careful not to sand a curve into the base. I didn't have to do that on the instrument I was working on, because I made a new bridge from a rosewood blank (the old one was mangled by having been originally right handed, then adapted badly to play left handed, then adapted slightly more competently to play left handed and in tune, then finally adapted badly to play right handed again).
To glue it up you'll need to make two clamping cauls. One sits on top of the bridge and has essentially the inverse of the shape of the bridge carved into it, the other sits inside the body on top of the bridge plate (the solid piece of wood, usually maple, that supports the bridge. I don't have any clear pictures of the top caul, but you can sort of see it in this picture of the gluing up process. It doesn't have to be perfect, just roughly the right shape to make solid contact in the middle and at the ends.
It has some cork sheet glued to the underside to spread the force more evenly. This could be replaced by anything soft really – a piece of an old tea towel, some carboard, etc.
The inner caul is a maddeningly fiddly thing to make and fit. It's a little triangle of wood that you need to keep the clamps from crushing the x-braces that meet just in front of the bridge. I made mine by shoving a piece of modelling clay into the back of the x-brace joint and using that to very roughly guess the angle the braces meet at. The whole process of making the caul, stucking masking tape to the inside and then sticking the caul to the tape is fiddly and frustrating. It helps to have a mirror or to put your phone inside the guitar with the front-facing camera turned on. You'll end up with a lot of pictures on your phone that look like this.
It you have some PTFE rod you can cut some short lengths to go in the outer string holes to line the bridge up prior to clamping. I remember lining things up using some chopsticks, but I can't remember if I kept them in (cut down) during the clamping process. If I did, they would have been liberally smeared with wax or vaseline and possible wrapped in baking paper to stop them getting stuck.
After brushing on a fairly generous layer of glue on both surfaces, clamp it in place (wiping up the squeezeout) and leave it for a day or two. Once it's set, get a needle file and clean the excess glue out of the holes, taking care not to get over-enthusiastic and stab a hole in the top.


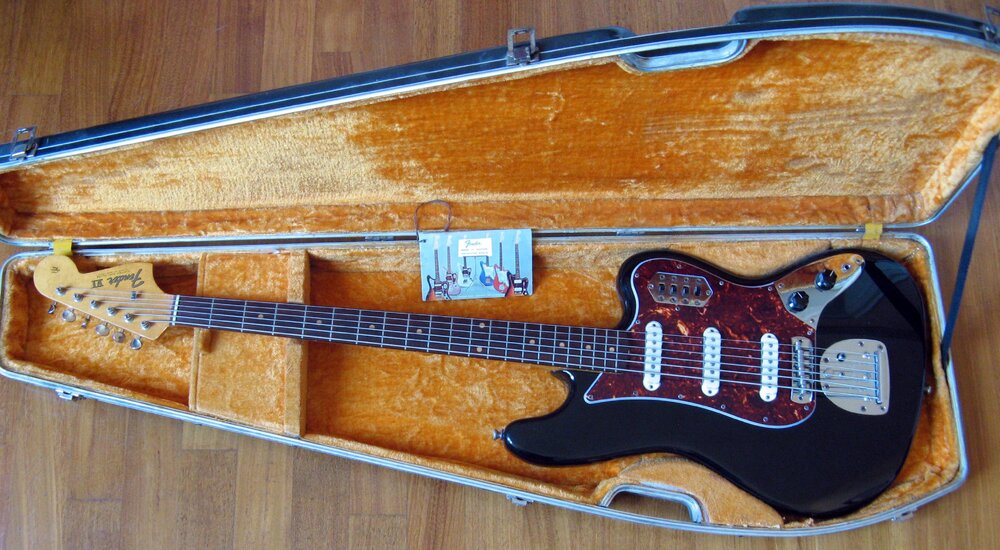 Wow 😮
Wow 😮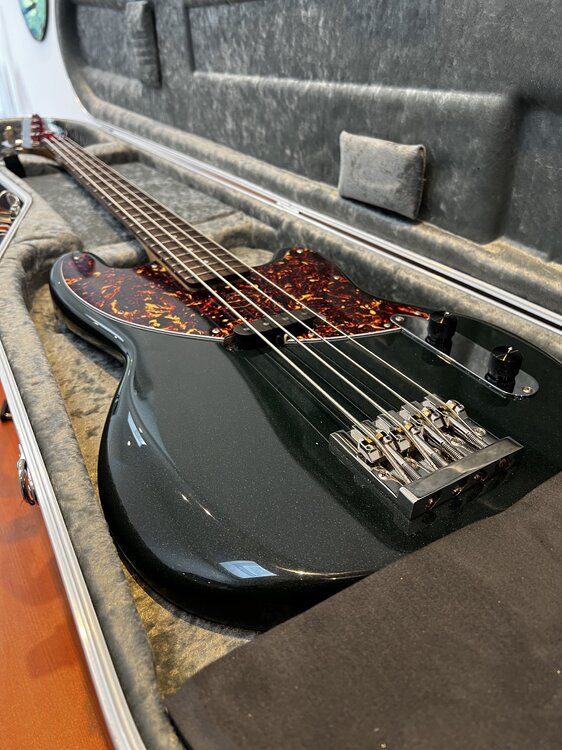 That’s stunning 👌
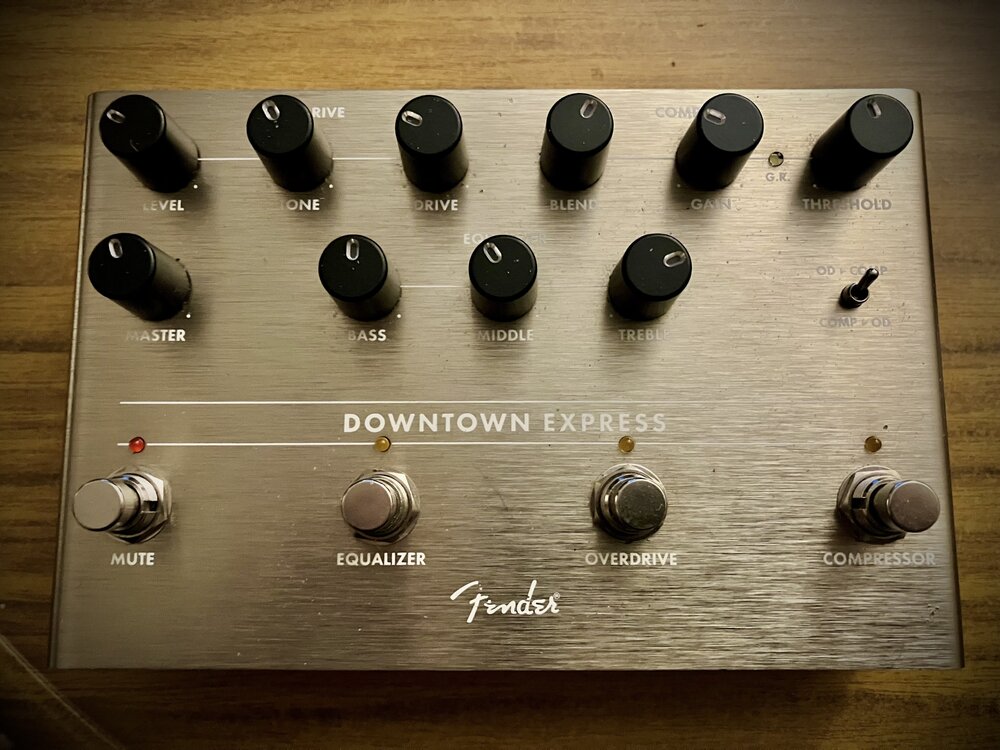 Surplus to requirements- useful EQ, good compression, big drive and mute switch. What is handy is the tuner out too. Can switch off LED blue lights on top knobs. Threshold LED not working built like a tank - heavy enough to be stand alone. Velcro if for board. postage £5 UK
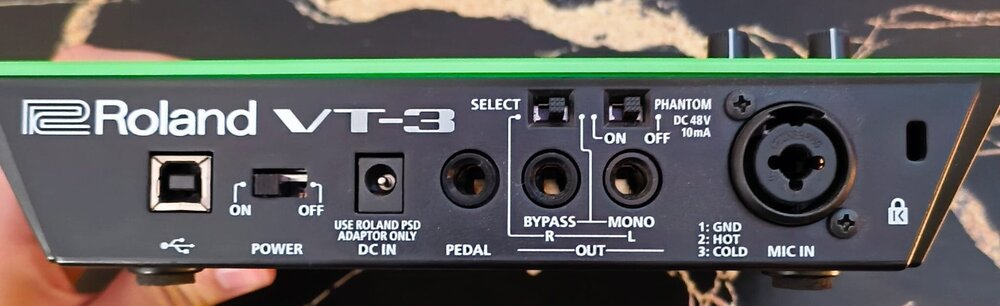 Roland VT3 - £120
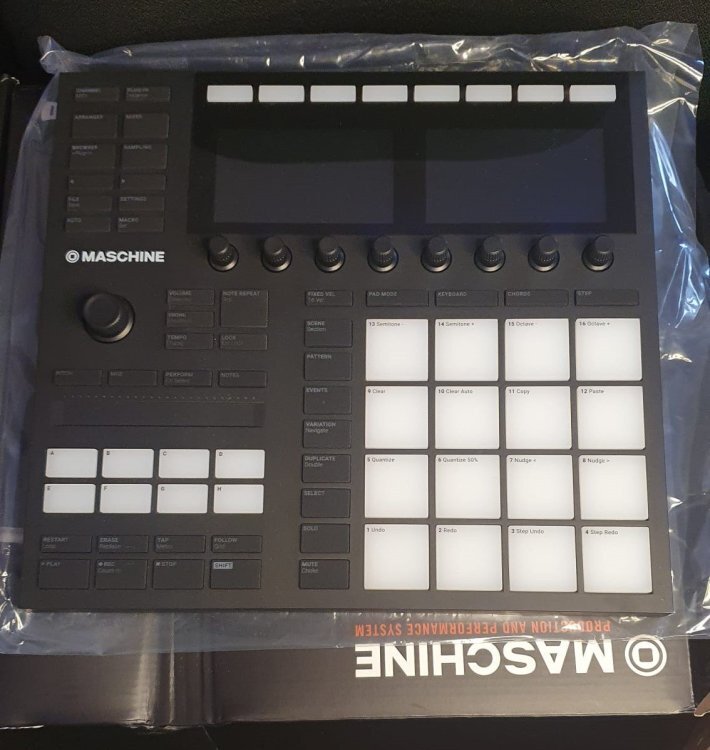 NI Maschine Mk3 - £300 never used
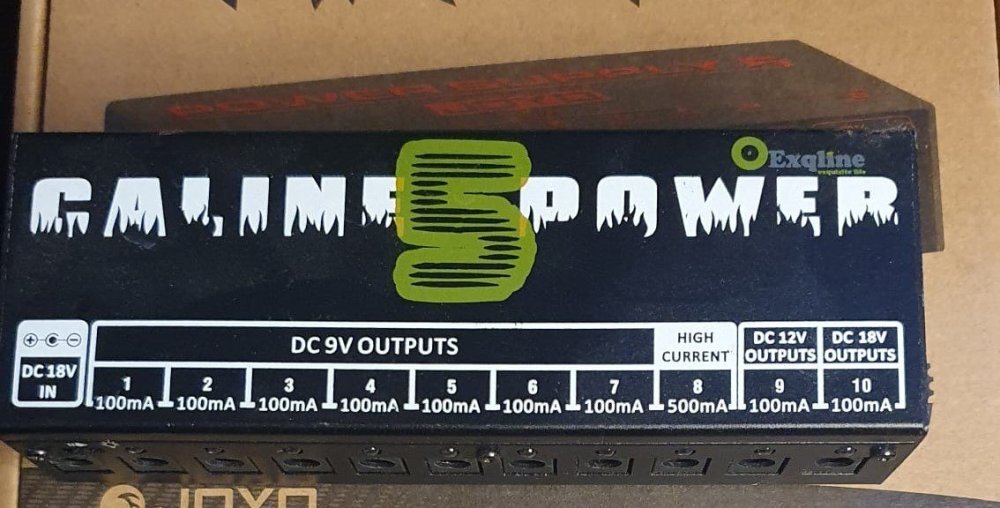 pm incoming re Joyo
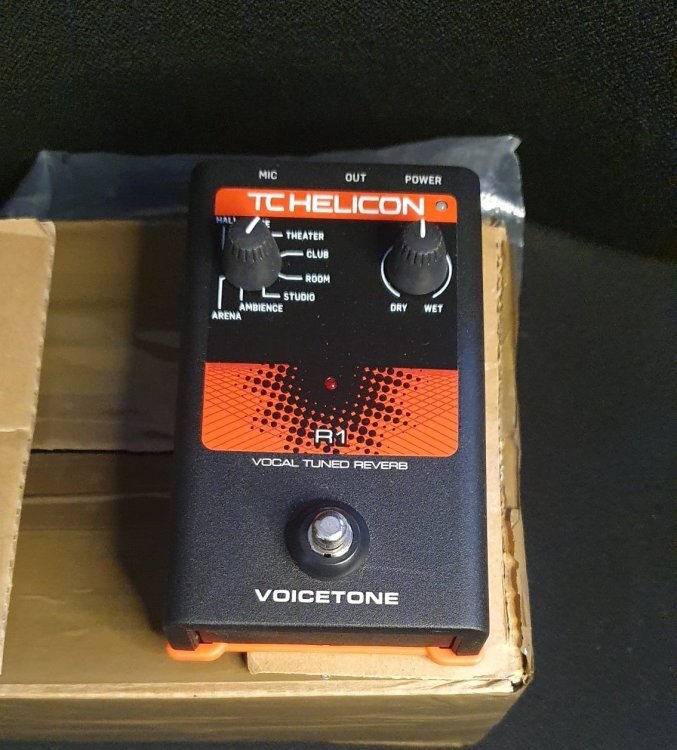 TC Helicon Voicetone r1 - £80
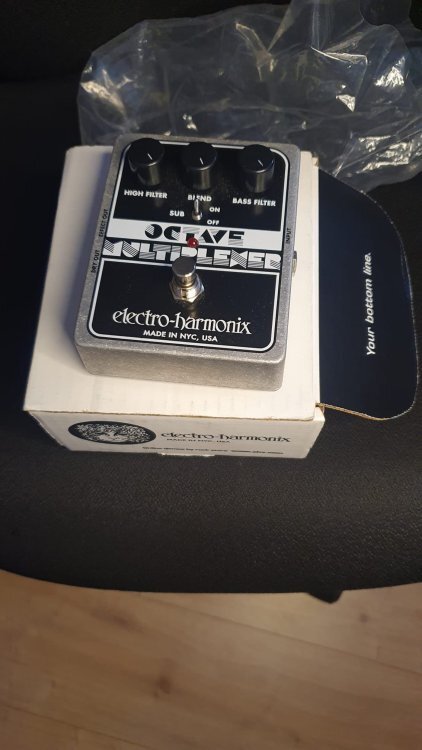 EHX Multiplexer - £50 (+box) (incl shipping)
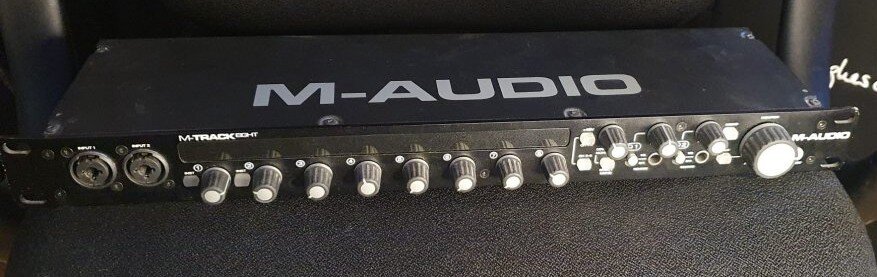 M-Audio 8 Track - £80(+box) (incl shipping)
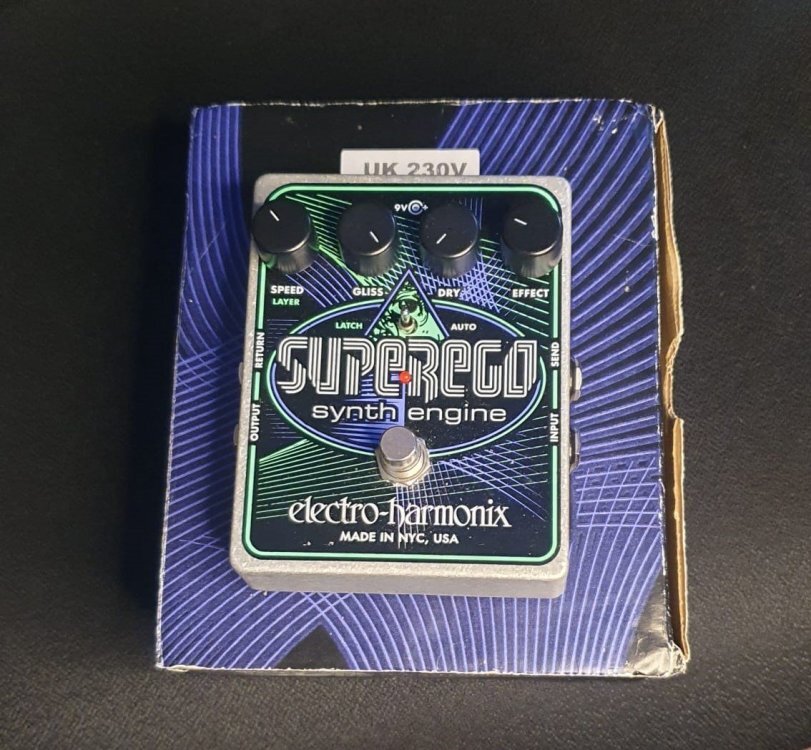 EHX Superego - £100 (+box) (incl shipping)
 Hi mate, I'm in Ealing so your side of London. Dimensions are as follow: W x H x D 594 x 662 x 426
 Pedal/Gear clearout - All Pedals include shipping M-Audio 8 Track - £80(+box) EHX Multiplexer - £50 (+box) Vivlex tuner - £15 (+box) EHX Superego - £100 (+box) TC Helicon Voicetone r1 - £80 (-box) Caline Power 5 - £15 (+box) NI Maschine Mk3 - £300 (+box, brand new never used)
 Markbass 1 15 lightweight cabinet. Started life as a Markbass CMD JB Players School Combo but the amp failed. The amp was disposed of leaving a cheap and cheerful lightweight 1 15 cabinet 200w 8ohm. Unconventional connector- has fixed cable original to combo with speak-on plug attached Approx. dimensions (W x H x D): 47.5 x 46.4 x 48 cm Weight: a very manageable 14 kg, easy one hand lift looking for £125 collect meet up. Will be able to courier once I’ve sourced packaging material’s
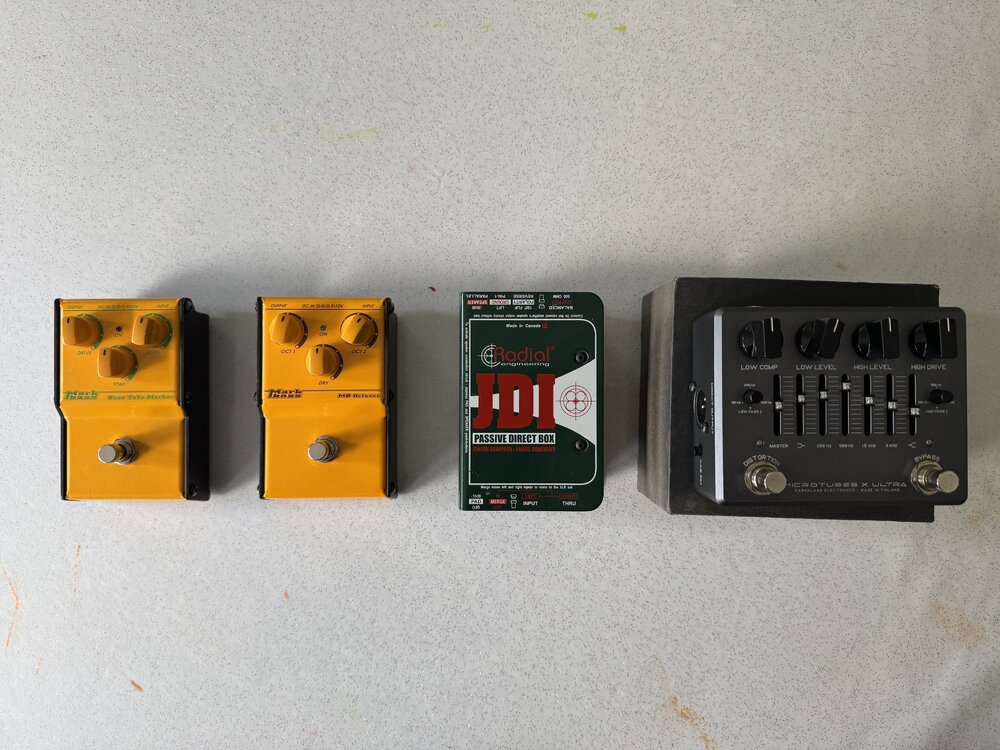 Darkglass price drop
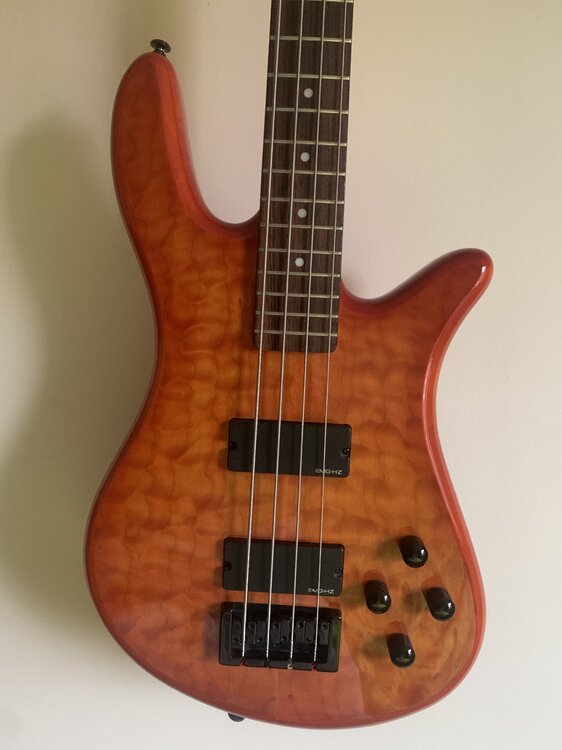 No problem, this has an active BTS circuit and the battery is mounted under the control plate. It has bass & treble cut and boost on the preamp.
 That makes things a lot easier. Here's what you'll need – – Two or three long-opening clamps. I used a pair of clamps I had lying around with a 12.5 cm depth – Various grades of sandpaper (up to like 400 grit) – a very sharp and quite small scraper – perhaps a scalpel or craft knife – tools for making simple camping cauls (saws, rasps, etc.) – decent masking tape (like frogtape or similar) – some cheap chopsticks (ideally PTFE rod or something like that) – Some offcuts of shelf timber or something for making cauls. – a round needle file (can be cheap and crappy) – Some double-sided tape (the weaker the better) As for glue, you could certainly use hide glue, but it is a pain in the arse to work with. I've not touched the stuff in a long time. When I did the bridge replacement, I just used standard, red-label Titebond, which is what I use for all my instrument building work. The first thing you'll need to do is carefully clean up the area under the bridge. This is what it looked like on the guitar I was working on after I'd heated and levered the old bridge off. You'll want to mask off the area of the finish that isn't under the bridge, and then carefully scrape and sand away the old glue and any finish that's under there (you want the bridge to go onto bare wood). You don't want to go too hard, because the wood is thin and pretty delicate. Here's an "after" photo from the instrument I was working on. You'll also want to do the same for the underside of the bridge, being very careful not to sand a curve into the base. I didn't have to do that on the instrument I was working on, because I made a new bridge from a rosewood blank (the old one was mangled by having been originally right handed, then adapted badly to play left handed, then adapted slightly more competently to play left handed and in tune, then finally adapted badly to play right handed again). To glue it up you'll need to make two clamping cauls. One sits on top of the bridge and has essentially the inverse of the shape of the bridge carved into it, the other sits inside the body on top of the bridge plate (the solid piece of wood, usually maple, that supports the bridge. I don't have any clear pictures of the top caul, but you can sort of see it in this picture of the gluing up process. It doesn't have to be perfect, just roughly the right shape to make solid contact in the middle and at the ends. It has some cork sheet glued to the underside to spread the force more evenly. This could be replaced by anything soft really – a piece of an old tea towel, some carboard, etc. The inner caul is a maddeningly fiddly thing to make and fit. It's a little triangle of wood that you need to keep the clamps from crushing the x-braces that meet just in front of the bridge. I made mine by shoving a piece of modelling clay into the back of the x-brace joint and using that to very roughly guess the angle the braces meet at. The whole process of making the caul, stucking masking tape to the inside and then sticking the caul to the tape is fiddly and frustrating. It helps to have a mirror or to put your phone inside the guitar with the front-facing camera turned on. You'll end up with a lot of pictures on your phone that look like this. It you have some PTFE rod you can cut some short lengths to go in the outer string holes to line the bridge up prior to clamping. I remember lining things up using some chopsticks, but I can't remember if I kept them in (cut down) during the clamping process. If I did, they would have been liberally smeared with wax or vaseline and possible wrapped in baking paper to stop them getting stuck. After brushing on a fairly generous layer of glue on both surfaces, clamp it in place (wiping up the squeezeout) and leave it for a day or two. Once it's set, get a needle file and clean the excess glue out of the holes, taking care not to get over-enthusiastic and stab a hole in the top.


