
.gif.9ad672bb8b84505709f76b39c8c256ec.gif)


Ghost_Bass
-
Posts
2,726 -
Joined
-
Last visited
Content Type
Profiles
Forums
Events
Shop
Articles
Posts posted by Ghost_Bass
-
-
21 hours ago, Dan Dare said:
I have two PJB C4s (the C8 is effectively two of them in a single box). I like them a lot. Clean/flat and excellent tone, but they may not suit if you are used to the BF sound. PJ cabs, even the Lite versions, are quite heavy for their size (wheels and handles are OK until you encounter stairs). They are also quite inefficient and take some driving. You really ought to audition/try before you buy to avoid making an expensive mistake.
Thanks Dan, that's the kind of comments that i need to read.
")
-
6 minutes ago, Jack said:
If you want lighter, smaller, but similar sounding to your S12T why not get the Super Compact? Smaller, lighter and cheaper than the PJB and it's a good bet you'll like it seeing as you like the S12T.
The SC doesn't go high enough (on the highs) and it's 8Ohms. Would be closer with the BB2 but still, only 8ohms. The Phill Jones, like the S12T, has a trolley handle and casters. Back problems means i must avoid carrying stuff as much as possible.
-
Hi, been looking at this as a replacement/backup for my Barefaced Super12T. A bit lighter and less power but should cope well with the Genz Benz Shuttle 9.2.
I'm looking for opinions regarding the sound characteristics/quality, SPL, and most importantly about Frequency Response. The S12T is fairly flat, i'm looking for something close to it in smaller/lighter/portable package. Don't mind about low-end rumble, HPF in shuttle makes sure all the mudd is removed.thanks
-
Doesn´t look like silicone to me, looks like hot glue (the craft type). That should be the way i would fix it, just two bits of hot glue on each top of the magnet to secure it to he existing glue. Simple and easy to remove in the future, if needed.
Another option is to use contact glue to secure the magnets directly to the pickup housing in the bottom. Again, a secure way to fix it and not so difficult to remove if needed.
-
 1
1
-
-
1 minute ago, randymussel said:
In my experience it works perfectly well, if anything the signal needs to be attenuated a bit (but that might just be my sh!tty headphones).
Excelent! Thank you!
")
-
Hi, anybody tried the B3 with phones plugged directly to the output/phones jack? Does it have enough signal or the phones need to be amped?
Thanks -
Hi, do you know the weight of this bass?
-
A Yamaha logo on the headstock!??

😂😂🤣
-
 2
2
-
 1
1
-
-
1 minute ago, Al Krow said:
Oooh you have a TRB5pii !!!
Neck through
Individual bridge pieces
3 band EQ
Come on Yamaha WHY did you stop production of these things?!!
Looking just lovely.
♥️
Cam you can find me one of those please, whilst your sorting Ghost_Bass out with an NE2 and then I'll definitely take a well earned rest 😂
For me it's the best bass they have buildt. It's miles ahead from the current TRB100xJ and TRBX. Eben the BB's aren't at par with this, it was top of the line before being descontinued. Why Yamaha did it without bringing in the TRBIII i'll never understand.
Got it here for a steal price of £900 about 10 years ago. He's the reason i joined BC in the first place and never left. It's been my #1 bass since, it's the ONE, it has "my tone" completely flat and straight to a flat mixer if needed, the balance knob and right hand position give me all the tones i can possibly dream of. It will NEVER EVER EVER leave my hands, will be passed on to my offspring with joy when i retire from playing.
Mine has the Ovangkol top, i've tried the Maple and Bubinga ones (the bubinga belonged to Nick Fyffe and belongs to a friend now), i found the Maple too trebly and the Bubing too dark, may have been the strings but i found this one is more balanced to my playing style.
More pics, next to the ex-fyffe's:


-
 2
2
-
-
Well, next time you can point me to the next great deal for a used BBNE2. Al needs to rest for a while...
Now for some gratuitous pics:

The NE would fit nicely in the collection
-
2
-
-
1 hour ago, Rayman said:
Don't overlook used BBs from the 80s/90s such as the 1100S and the unreal but rare 3000S. Both PJ configuration, both awesome, however people are asking silly money for those basses now. Some guy was asking for a grand for a Taiwanese BB1100 recently.
For me, any of the Yamaha BB series are worth checking out, new/old and regardless of the price/affordability.
wow! a grand for the 1100S? How much would be worth my Japanese BB1000S then?
-
A bass feeling light whilst having a great tone , IMO, is an indicator of a higher quality instrument and one i'm always looking for. Boutique builders base a lot of their business in building great sounding instruments that are easy to play and are light to help players with fatigue and back problems (Smith, Jerzy, Sadowsky, etc.). I would happily pay again the same amount i've spent on my TRB just to be able to shave 1kg of it and retain its sound, but i know that's impossible. Yamaha is a great brand, they're hard to beat in quality vs price, their attention to detail is huge and they carry it through the bottom of the line.
My opinion is, if you feel that bass suits your hands and tone needs then you can stop looking, but make another trip (or two or three) to the shop to try it again. If after that novelty period you keep finding yourself drawn to it, its a keeper. Don't worry about the price tag
-
23 minutes ago, Bill Fitzmaurice said:
All porting used to look like that, being a hole cut in the baffle, or as in this case in the back, with no duct. The common use of ducts dates to circa 1965, more or less coming into use at the same time as Theile/Small specs. What's usually referred to today as a port is more properly called a ducted port.
Fair enough but i said i wouldn't call it a port because the size of it makes it look closer to an open back cab, IMO
-
4 hours ago, MacDaddy said:
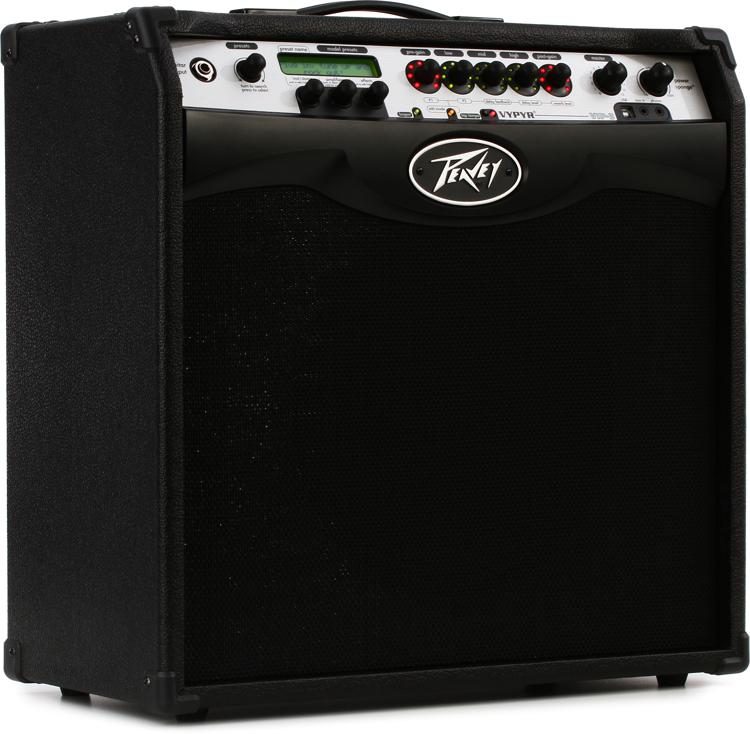
Sorry but no, that won't cut it, that's good for bedroom practice. Even in rehearsall i would be affraid to blow the driver as this is clearly a Guitar combo that stated it can also handle bass (it won't, at least with the sound/tone a bass is suposed to have). It can have all sorts of HPF to prevent over-excursion but that will come at expense of low frequencies.
Just looking at the "porting" (i wouldn't even call it that) we can see its made for guitar not bass: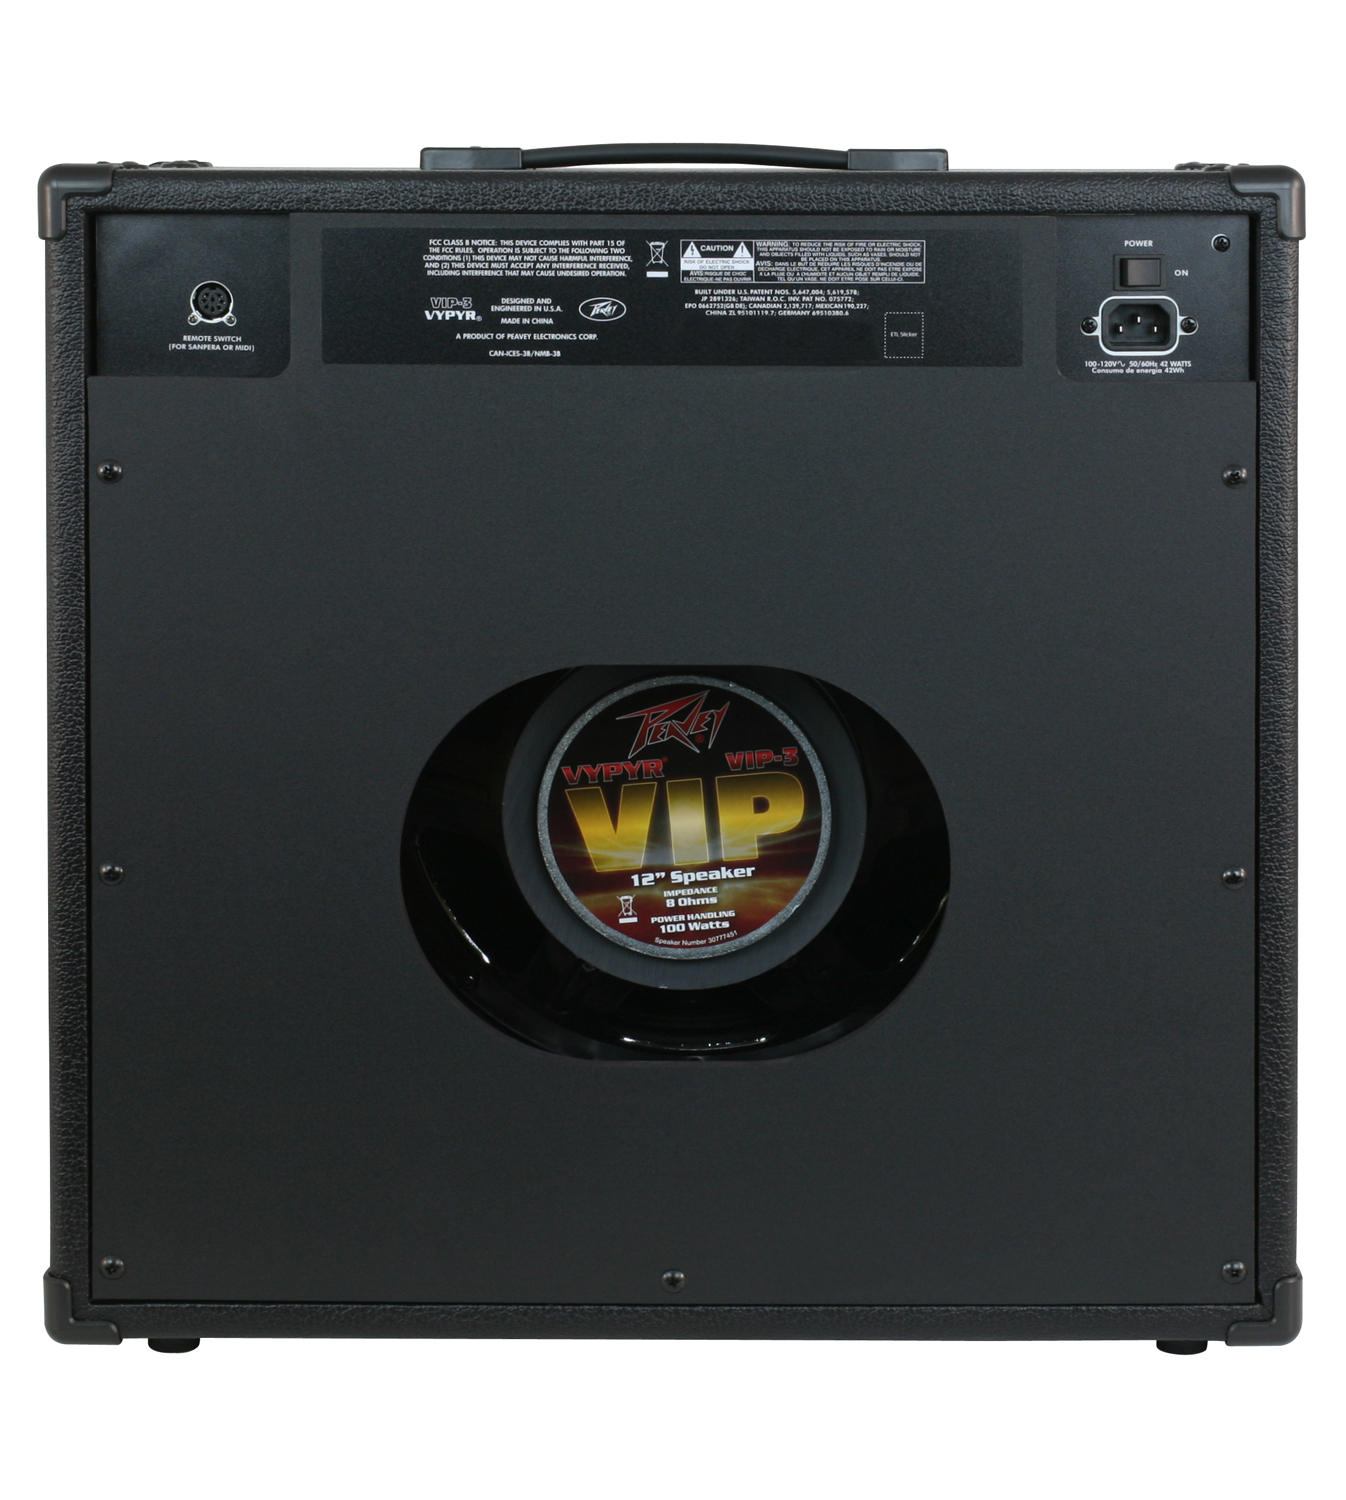
-
54 minutes ago, chris_b said:
Tell us what it is and we'll let you know.
^^^ This, and also tell us wich gear the guitarist uses and how hard the drummer hits.
A good indicator is to crank it in the rehearsall space and see if you can compete with the drummer when he's hitting a bit harder. -
This may sound strange but...
Fill the resonance box with bubble-wrap or those Styrofoam bits (don't know the English name for it). I bought a bass recently that had a short journey through airplane to my hands. The bass was bubblewrapped, then inside it's carry-bag, then carry-bag bubble-wrapped too and finally a cardboard box wrapped in meters of tape. Even so the carrier managed to have the preamp of my bass break from the 4 screws that fixed it in the outside plastic face-plate. Cardboard box was intact with no signs of damage or perforation, only thing that could have caused it is a huge deceleration, something like being on a car accident or been dropped from the top of the plane to the ground... Bass was insured and the carrier denied compensation 🤬


-
Make sure that the bridge ground wire isn't sunk in the wood and making little contact with the bridge (as it looks in the video) change its location to the side so that it makes better connection (and create a new sink in the wood).
Shielding the electronics and pickup cavities and connecting that shield to the ground also helps.
Last advice is to, if all fails, replace the bridge pickup for a dual-coil/humbucker/noise cancel one.-
1
-
-
1 minute ago, discreet said:
Absolutely. As I said earlier, some modern gear is designed to sound good instantly (i.e. in a shop) when playing solo, but Trace gear is made for gigging. It does indeed take time to learn how to get what you want from it. And Trace amps just don't need to be turned up much, even in big rooms. They will sit very nicely in a mix, and you ARE going to be heard, even if you're 'only' using a 150W RMS amp. But then anything worth doing takes a bit of effort. If it were easy, everyone would be doing it and it wouldn't be cool...
I may have misread your first reply, now that i look at it again, sorry
-
1
-
-
But this all can be resumed, this is the way i used to do it:
- Start with everything Flat/Switches OFF, Master and Gain at 0
- Set gain, slapping the bass until the clip led lights up, then go back a notch;
- Pre-Shape / Valve sim / compressor OFF, you don't need that!;
- Set Masted to sensible volume;
- Turn on EQ switch, set the first and last sliders to cut almost all the way (that low-end rumble and high end hiss aren't pretty to be heard);
- Re-check gain;
- EQ to taste keeping the EQ curve balanced around the 0dB line;
- Re-check gain;
- Set Master to gig level;-
1
-
-
1 hour ago, discreet said:
Not at all, that's fascinating and pretty much how I do it... after quite a bit of trial and error! Another point to consider is the fact you probably won't get a sound you much like playing solo. It all comes together in concert, which is why your tone should be got when you're playing with your band...
+1
Sure thing, but first you need to learn how to work with the gear, that's where this comes in handy
-
This questions pops up on the forum way too frequently. I think it deserved a pinned topic. Getting a nice sound of a TE requires a bit of understanding of how the preamp works and the TE manual explains it very well on pretty much all models. I'll post here a quote from the GP12 manual that has more bells and whistles but the same applies to other models. Downloading the correct manual is very handy and you can find it online easily through your phone in any situation (if you have a internet plan or wireless connection):
Source: https://www.britishaudioservice.com/trace-elliot-manuals
QuoteINPUTS
There are two Instrument Inputs, one optimised for PASSIVE instruments with a high input impedance and high sensitivity and the other optimised for ACTIVE instruments with a much lower impedance and greater headroom. The PASSIVE input is high impedance and sensitivity. This is designed to match the output from instruments that have no internal pre-amp or battery. These instruments usually have a single volume control and a single tone control. It is best to keep the volume control on the instrument well advanced, as turning this back usually also reduces the upper frequencies available from the pick-ups. The PASSIVE input is also suitable for Piezo pick-ups or for use with active instruments that provide only a very low output signal. The ACTIVE input, is for use with instruments that have a pre-amp powered by a battery built into the bass. The output from these instruments is low impedance and of a much higher signal level than from a passive bass. The ACTIVE input is designed to cope with these higher level signals.
INPUT GAIN
The level of the instrument signal through the amplifier is adjusted using the INPUT GAIN control. This has level indication using 3 LED’s. The first marked ‘More Gain’ indicating that more level through the amplifier is required for optimum performance from the unit. The second has a ‘Thumbs Up’ symbol indicating that the INPUT GAIN control is set correctly and a third marked ‘Less Gain’ indicates that clipping or distortion is occurring at some point throughout the amplifier. The circuit for these LED’s monitors a number of strategic points throughout the amplifier and is thus a good indication when unwanted clipping is occurring. To get the best results from your amplifier it is important to understand fully the correct use of the INPUT GAIN control. The optimum setting is achieved when the INPUT GAIN control is as high as possible without lighting the red LESS GAIN LED. The OUTPUT LEVEL control should be used to make any changes to the overall amplifier volume whilst the INPUT GAIN control is left set at its optimum position to suit your instrument. To set these two controls correctly use the following procedure:- First turn the OUTPUT LEVEL control to zero. Plug your bass into the appropriate ACTIVE or PASSIVE input. Turn all volume controls on your bass up full. Gradually turn up the INPUT GAIN control while playing your bass as hard as you are likely to during your performance. When the red LESS GAIN LED lights up reduce the INPUT GAIN slightly until this LED goes out. Now turn up the OUTPUT LEVEL to give the desired volume. N.B. For most instruments the INPUT GAIN control will end up being set between 6 and 9 on the scale. If the GRAPHIC EQUALISATION is altered it may be necessary to re-adjust the INPUT GAIN control. All circuits in the pre-amp are designed to work at their optimum when the INPUT GAIN is correctly set.
HARMONIC EMPHASIS
HARMONIC EMPHASIS is a NEW addition within this amplifier and consists of a circuit that takes the bass signal and emphasises certain harmonics within it to produce a bright zingy top end. It is not an EQ circuit, for it actually synthesises new harmonics that it adds to the original sound. The best way to describe this is that it is similar to the top end zing you get from a new set of strings. This has a LEVEL control and can be switched in or out with the front panel switch. Use this in moderation, as you will find that it adds a lot of bright harmonics to the sound. If you are using an active instrument you may find that this will also emphasise any hiss produced by the active electronics in the bass. You can easily confirm this extra hiss is coming from the active instrument by unplugging it from the input. If the hiss goes away then it is coming from the bass itself.
PRE-SHAPE
This is the classic Trace Elliot ‘Mid Pre-Shape’ that that everybody knows. This can be switched in or out with the front panel switch, with the 5 way foot switch or via MIDI ( on the AH1000 and GP12X only ). It has an Orange LED below the switch to indicate when it is on. This colour of LED is duplicated on the 5 way foot switch unit. The PRE-SHAPE is like a pre-set graphic equaliser that you can switch in or out to modify the sound of the bass. The PRE-SHAPE provides a mid cut plus a top and bottom end boost and when switched in provides extra punch to your sound.
GRAPHIC EQUALISATION
This is the familiar Trace Elliot 12 Band Graphic Equaliser that has been updated for this range of amplifiers and plays somewhat of a lesser role within these units. It still has the versatility of EQ that it has always provided but is now just one of a number of facilities to allow you to create your own unique bass tone. The GRAPHIC EQUALISER section operates by boosting or cutting the level of signal at various frequency points throughout the frequency range. With the sliders set on 0dB ( in their centre ‘click’ position ) no alteration is made to the signal. Moving any one of the sliders up will increase or ‘boost’ the signal at the frequency marked below the slider. Moving the slider down will decrease or ‘cut’ the signal at that frequency. The GRAPHIC EQUALISATION can be switched in or out with the front panel switch, with the 5 way foot switch or via MIDI ( on the AH1000 and GP12X only ). It has a Green LED below the switch to indicate when it is on. This colour of LED is duplicated on the 5 way foot switch unit. A carefully designed GRAPHIC EQUALISER is a very flexible way of varying the sound of a bass guitar and if properly used will provide an extremely powerful method of tone shaping for your instrument. Because of the flexibility and massive BOOST and CUT potential of this particular GRAPHIC it is important to know how to get the best from it. Firstly a few things not to do and the reasons why: Do not boost or cut all frequency bands as this will have the same effect as increasing or decreasing the overall volume level without affecting the tonal characteristic of the sound. Do not use excessive bottom ( 30 to 40Hz ) boost on the graphic unless your speakers can handle it. Very few speaker systems are capable of handling frequencies as low as 30 and 40Hz with any degree of efficiency. N.B. Boosting at 30Hz for instance will not add to the perceived amount of bottom end in the sound, it will only make your speakers flap to no useful effect. In fact boosting at 100Hz or 180Hz will have the apparent effect of adding far more bottom end than boosting at 30, 40 or even 60Hz. Do not use excessive top ( 10 to 15kHz ) boost, this will add mostly hiss to the sound as there is very little signal output at this frequency from a bass. The 30Hz slider has been provided to allow precise tailoring at very low frequencies. This slider should be used to CUT ( not Boost ) the 30Hz to a level that allows the speaker system to work at its maximum efficiency.
Useful Observations
The fundamental frequency range of a regular, four string bass guitar is from 41.2Hz ( bottom E string ) to around 392Hz ( two octaves up on the G string ) - not a very wide range. Obviously a lot of harmonics are produced when playing and these can extend up to 5kHz and more. The attack portion of the note also produces other high frequencies when the string is first struck. This attack can be emphasised by boosting the top end. However because of the fairly small range of frequencies from a bass, by top end we mean between 2.6kHz and 5kHz. You will find that by boosting at 5kHz the attack will be emphasised whereas by boosting at 1.3 and 2.6kHz you will bring out the harmonics in the note. Above this frequency range you will find it is better not to boost the signal as this will mainly emphasise any hiss present. This hiss will not be masked by the bass signal when playing due to the very small amount of bass guitar frequency content at 10 to 15kHz. Use the 30Hz and 40Hz sliders sparingly unless you have a massive stack of speakers available, and the power amplifiers to drive them. You will find that rolling off the bottom end by using these two sliders will allow you to play at a far greater volume level without the speakers complaining. Try to keep the graphic sliders balanced around 0dB and in a smooth flowing curve from one slider to the next, and remember that after adjusting the graphic you may need to re-set the INPUT GAIN.
VALVE STAGE
This has been moved from the front end where it resided in previous Trace Elliot amplifiers and placed in a position of prime importance within the EQ section. It has now become a very versatile tool in its own right. It is a two-stage ( double triode ) valve section with the ability to be overdriven if desired. The Valve Stage has a single level control marked ‘VALVE DRIVE’ that provides a wide range of bass enhancement. Set between minimum and 12 o’clock it provides classic bass ‘warmth’ along with top end ‘sparkle’ both of which come from the valves natural ability to add a small amount of second degree harmonics. Set between 12 o’clock and full it overdrives providing a degree of grunge to the sound typical of hard worked valve amplifiers. For Rock players this control is probably all you need. Turn everything else off and turn the volume up ( with maybe a bit of compression ). The Valve stage is placed after the Graphic so that altering the graphic will also alter the distortion that the valve stage produces. The maximum amount of overdrive obviously depends on the INPUT GAIN setting, and with this set to its optimum level the VALVE DRIVE control has been tailored to give a generous degree of grunge when set on full without degenerating into a fuzz box. If you want more distortion then try increasing the INPUT GAIN slightly but do not go too far as this may introduce clipping in other parts of the pre-amp that will add third harmonic distortion that is not as nice as the distortion from the VALVE. The Valve Stage can be switched in or out with the front panel switch, with the 5 way foot switch or via MIDI ( on the AH1000 and GP12X only ). It has a Red LED below the switch to indicate when it is on. This colour of LED is duplicated on the 5 way foot switch unit.
COMPRESSION
The compression used in this range of amplifiers is Dual Band Compression, where the bass signal is split into its High Pass and Low Pass signals. Each is then compressed individually with attack and decay characteristics optimised to suit each part of the frequency spectrum. The signal is finally re-combined into a full range bass signal once again after compression has been applied. This works far better than a single full range compressor for a bass guitar signal. The reason for this is simply that any kind of FULL RANGE compression used on bass is always an unacceptable compromise. If set to suit low frequencies it cannot act fast enough to catch the attack transients, and if the compressor is set fast enough to catch these transients then it distorts the low frequencies. If you have used any kind of full range compression then you will know what we mean. Control is provided over the degree of LOW COMPRESSION and HIGH COMPRESSION individually and the eventual mix of these two is controlled by the COMPRESSION BALANCE control giving further EQ possibilities ( as described below ). This circuit has been improved over that used in previous Trace Elliot products and full bypass switching has been added. The entire compression circuit can be switched in or out with the front panel switch, with the 5 way foot switch or via MIDI ( on the AH1000 and GP12X only ). It has a Blue LED below the switch to indicate when it is on. This colour of LED is duplicated on the foot switch unit.
Low Compression
Applying compression to the LOW PASS portion of the signal gives a fat bottom end to the sound without losing the upper frequency attack characteristics of the note. It is somewhat of a less processed sounding effect than full range compression but works extremely well in smoothing out bass signal peaks allowing a far greater volume of amplification to be used without the risk of speakers complaining. You will also find that a degree of LOW compression will add definition to your playing, bringing out notes within a run without loss of the upper dynamics. As the LOW COMPRESSION control is advanced and compression is applied to the signal the overall level of volume is compensated for. If this were not done then adding compression would have the effect of reducing the volume of the sound as the available dynamics are reduced. With the INPUT GAIN control correctly set, switching in the compression will cause no apparent change in volume. If the INPUT GAIN is set too low then switching in the compression will cause an increase in volume. The opposite will be true if the INPUT GAIN is set too high.
High Compression
The HIGH COMPRESSION should be used with care as it is directly affecting the attack portion of the bass sound. This can be used to good effect but moderation should always be exercised when applying high compression. As the HIGH COMPRESSION control is advanced and compression is applied to the signal the overall level of volume is compensated for. If this were not done then adding compression would have the effect of reducing the volume of the sound as the available dynamics are reduced. However in the case of the HIGH COMPRESSION this means that additional gain is added at high frequencies. The more the compression control is advanced the more additional gain. If you are adding top boost or harmonic emphasis along with HIGH COMPRESSION to an active instrument this will considerably increase the level of HISS that is present when the bass is not being played. HIGH COMPRESSION is directly affecting the attack portion of the sound and can therefore be used to vary the type of attack and the level of the attack transient within the bass guitar sound.
Compression Balance
The COMPRESSION BALANCE control adjusts the balance between the HIGH PASS and LOW PASS portions of the bass sound after compression has been added. This can be used as an additional EQ control affecting the sound only when the compression is switched in. Turning this control to the right increases the top end and decreases the bottom end within the sound, while turning it to the left increases the bottom end and decreases the top end. The two compression circuits can be set individually to produce some useful sounds. With LOW COMPRESSION set to about 5 to tighten up the bottom end of the sound, the HIGH COMPRESSION can be varied in conjunction with the COMPRESSION BALANCE control to produce a variety of different attacks to the note to suit many different playing styles.
Sorry for the big text but TE did a fantastic job at creating a very clear and explanatory manual with lots of useful EQ tips and i hope it helps someone understand how to setup a TE properly, it may seem hard to understand but in fact it's quite easy to get the grip after the first read.
-
45 minutes ago, BigRedX said:
That is what I do. Line6 Helix and an RCF745 FRFR.
^^^ This would be be smallest, lightest, option and my best bet, but responding to the OP, yes your way will also work.
-
EDITED
-
1 hour ago, 4000 said:
(...)
Would anyone say that someone when playing a Hammond has the same actual sound as when they're playing a piano, simply because it's the same person playing it? That someone playing a Strat, clean, has the same actual sound as when playing a Les Paul through a cranked Marshall, even when playing the same notes?
(...)
Been catching up on older posts and this one drew my attention, brought a nice memory to my mind.
I played with a guitarist (jazz school) who always loved and played with a Les Paul. We were on a Funk/Soul project so that dark, bass-heavy tone he liked getting out of his guitar wasn't blending very well with the rest of the band (it was briliant for jazz though). After me and the drummer constantly complaining to him about this issue he decided to take our advice and bought a telecaster thinline, we were extatic when he took it out of the box in front of us. We allowed him a bit of rehearsal time to setup properly and in the end he sounded pretty much like he was still playing that dreaded Les Paul... we had a laugh on his expense and proceeded to turn off the Low knob in his amp (after first gig he realized we were right about the tone and said he liked it better than the previous one).


2019 Gear Abstinence Challenge (Updated with 'rules')
in General Discussion
Posted
I can say i've been without GAS for a few months. Last purchase of gear (except strings) was a extension cab for my Promethean early this year (and was just to grab an oportunity at a good price) I'm still using my TRB as main bass since i've bought it in 2010. I've had some basses in the meantime but none stuck with me.
I have a bit of money accumulated in my "gear piggy bank" and have been scrolling through the classifieds, thomann, etc. for a few moths, i can't see anything i would like to replace my current gear...
Maybe the NAAM could bring out some new Ampeg gear with Yamaha quality that could convince me to spend some money.